Introduction
Does that unsightly dent in your wall make you cringe every time you walk by? Maybe a runaway soccer ball left a bigger mark than your team spirit? Don’t despair! Common drywall issues like holes, cracks, and bumps are a fact of life, but they don’t have to break the bank or eat up your entire weekend. With a little DIY know-how, you can tackle these repairs yourself, saving time and money while transforming your walls from “whoops” to “wows.”
This blog will be your guide to quick fixes for common drywall problems, arming you with the knowledge to get those repairs done fast and affordably. So grab your tools, unleash your inner handyperson, and get ready to conquer those drywall dilemmas!
Common Drywall Issues and Quick Fixes
A. Patching Small Holes:
- Tools you’ll need: Putty knife, Joint compound (pre-mixed or powder mix), Sanding sponge
- The Fix:
- Clean the hole: Remove any debris or loose drywall with a damp cloth. Let the area dry completely.
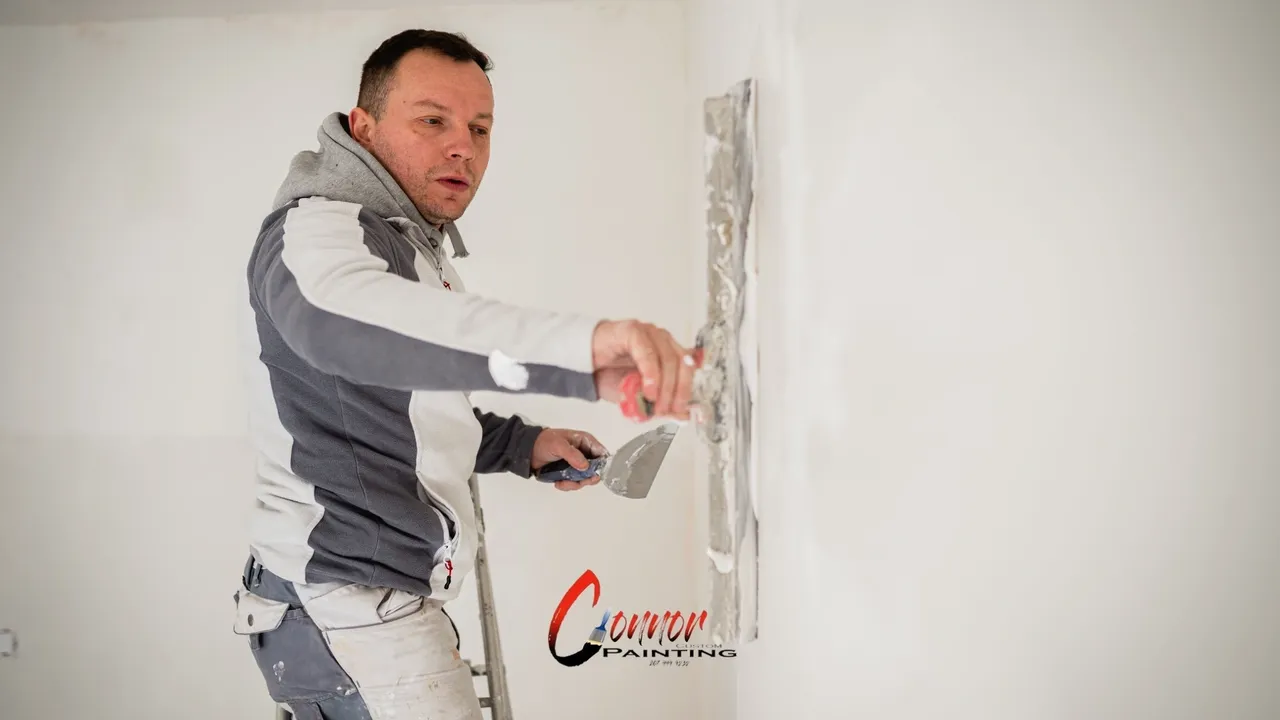
- Apply joint compound: Using your putty knife, scoop a small amount of joint compound and spread it firmly over the hole, filling it completely. [Pre-mixed joint compound is easier for beginners, while powder mix offers more control over drying time for experienced DIYers]
- Smooth it out: Hold the putty knife at a low angle and gently smooth the compound across the hole, making sure it’s level with the wall surface. [A slight mound is okay; we’ll sand it smooth later]
- Let it dry: Allow the first coat to dry completely according to the manufacturer’s instructions (usually 1-2 hours).
- Repeat for a flawless finish: Once dry, apply a second thin coat of joint compound, feathering it out beyond the edges of the hole for a seamless transition. [Feathering means applying the compound in increasingly thinner layers towards the edges]
- Sanding is key: Once the second coat is completely dry (another 1-2 hours), use a sanding sponge (start with a coarse grit, then progress to finer grits) to smooth out the repaired area until it’s flush with the wall. Sand lightly to avoid damaging the surrounding drywall.
B. Repairing Hairline Cracks:
- The Cause: Hairline cracks often appear due to normal settling of the house or shrinkage of the drywall compound.
- The Fix:
- Sand the crack: Using a fine-grit sandpaper, gently sand along the crack to remove any loose particles and create a better surface for the joint compound to adhere to.
- Apply joint compound: Use your putty knife to spread a thin layer of joint compound over the crack, ensuring it fills the gap completely.
- Smooth it over: Once applied, use the putty knife to smooth out the joint compound, making it level with the wall surface.
- Let it dry and repeat: Allow the first coat to dry completely, then apply a second thin coat, feathering the edges for a smooth transition.
- Sanding for a finished look: Once the second coat is dry, use a sanding sponge (start with a fine grit and progress to even finer grits if needed) to achieve a smooth, invisible repair.

Note: For both patching holes and repairing cracks, using a damp cloth to wipe away any sanding dust before painting will ensure a better paint finish.
Sanding Techniques for a Smooth Finish
The secret to a professional-looking drywall repair lies in proper sanding. Here’s how to achieve a flawless finish:
- Start Coarse, End Fine: Begin with a sanding sponge with a coarse grit (around 80-grit) to remove any bumps or ridges left by the joint compound.
- Work in Sections: Use a light touch and focus on sanding small sections at a time. Avoid applying too much pressure, as you don’t want to gouge the surrounding drywall.
- Shift to Finer Grits: Once the initial imperfections are addressed, gradually progress to finer-grit sanding sponges (around 100-grit to 120-grit) to create a progressively smoother surface.
- Observe the Light: Hold your work area under good lighting at different angles to identify any remaining imperfections that require additional sanding.
- Light Touch is Key: As you move to finer grits, maintain a light touch to avoid creating unwanted scratches.
- Check for Seamless Transition: The ultimate goal is to achieve a sanded area that feels smooth and blends seamlessly with the surrounding wall surface.
Tip: If you’re working on a larger repair or a textured wall surface, consider using a sanding block for better control.
Painting Tips for a Flawless Look
After all your sanding efforts, painting is the final step to transform your repair into a virtually invisible masterpiece.
Here are some key tips:
- Prime Time: For optimal paint adhesion and a flawless finish, apply a coat of primer specifically designed for drywall repairs. Let the primer dry completely according to the manufacturer’s instructions.
- Match Your Paint: Use the same paint color and sheen as the existing wall for a seamless look. If unsure of the exact paint color, consult your local hardware store for color matching services.
- Quality Matters: Invest in a good quality paint for better coverage and a more durable finish.
- Brushwork Basics: Use a quality brush to paint along the edges of the repaired area and any tight corners.
- Roller Magic: For larger areas, switch to a roller to apply the paint evenly. Use light, even strokes to avoid leaving roller marks.
- Two Thin Coats are Better Than One: Apply two thin coats of paint for a smooth, professional-looking finish. Allow the first coat to dry completely before applying the second.
By following these simple painting tips, you can ensure your expertly repaired drywall area blends flawlessly into the rest of the wall.
Cost-Effective Repairs vs. Hiring a Professional
DIY repairs for common drywall issues can be a budget-friendly solution. Consider these factors when deciding between tackling the project yourself or calling in a professional:
- Project Scope: Small holes, hairline cracks, and nail pops are all perfect candidates for DIY fixes. These repairs require minimal materials and can be completed in a relatively short time frame.
- DIY Skills and Confidence: If you’re comfortable with basic handyman tasks and have the necessary tools, DIY drywall repair is a great way to save money.
- Time Constraints: For small repairs, the time investment for DIY might be minimal. However, if your schedule is packed, hiring a professional can expedite the process.
- Extent of Damage: For larger holes, extensive cracks, water damage, or uneven wall surfaces, it’s best to call in a professional. These repairs may require specialized techniques, tools, or knowledge to achieve a lasting, high-quality result.
Remember: While DIY repairs can be cost-effective for common drywall issues, prioritizing safety and achieving a professional finish are key. If you’re unsure about your ability to handle the repair, don’t hesitate to consult a professional.
When to Call a Professional
Here are some situations where seeking help from a professional drywall repair contractor is the best course of action:
- Extensive Damage: Large holes, significant cracks throughout the wall, or sagging drywall all indicate potential underlying structural issues that require professional assessment and repair.
- Water Damage: Water damage can compromise the integrity of the drywall and lead to mold growth. Leave water damage repairs to a professional who can address the source of the moisture and ensure proper restoration.
- Electrical Issues: If your drywall repair involves electrical wiring or outlets, it’s crucial to call a licensed electrician to avoid any safety hazards.
- Lack of Confidence: If you’re not comfortable tackling the repair yourself or lack the necessary tools or expertise, a professional can ensure a high-quality, long-lasting fix.
By knowing when to call in a professional, you can save yourself time, money, and potential headaches in the long run.
About Connor Custom Painting
Connor Custom Painting is your one-stop shop for all your interior and exterior painting needs, proudly serving Sagadahoc, Lincoln, and Cumberland Counties in Maine. We understand the frustration that damaged drywall can cause, and our experienced team is here to help!
We offer a range of services to keep your home looking its best, including:
- Exterior Painting: From refreshing your home’s curb appeal to protecting your siding, our exterior painting services ensure a durable, beautiful finish.
- Interior Painting: Breathe new life into your living space with our meticulous interior painting services. We can transform any room with a fresh coat of paint.
- Cabinet Painting: Update your kitchen or bathroom cabinets for a modern look without the cost of replacing them entirely. Our cabinet painting expertise will leave your cabinets looking flawless.
- Wallpaper Removal: Tired of outdated wallpaper? We can expertly remove wallpaper, leaving your walls smooth and ready for a fresh start.
- Drywall Repair: Don’t let minor drywall damage detract from your home’s beauty. Our skilled professionals can handle any drywall repair, from small holes to cracks.
We take pride in our commitment to quality, customer service, and competitive pricing.
Contact Connor Custom Painting today!
- Phone: (207)449-9838
- Email: [email protected]
- Website: https://connorcustompainting.com/
For a flawless drywall repair or to transform your home with a professional painting job, contact Connor Custom Painting today! We’re here to help you save time and money while achieving stunning results. We look forward to hearing from you and helping you achieve your home improvement goals!