Introduction
Is your home stuck in a time warp, adorned with outdated wallpaper that screams “the 90s called, they want their floral print back”? Or perhaps you’ve unearthed a hidden gem under layers of peeling wallpaper during a renovation project. Whatever your reason for tackling wallpaper removal, you’re not alone!
DIY wallpaper removal has become increasingly popular, offering a cost-effective way to refresh your space. But before you grab the nearest scraper and dive in, take a breath! Using the right tools for the job is the key to a smooth (and wallpaper-free) experience. This ultimate guide will equip you with the knowledge and tools you need to conquer any wallpaper removal project, from delicate pre-pasted varieties to stubborn vinyl monsters. Here, we’ll delve into the essential tools you need, explore different removal techniques, and even provide some pro tips to make the process a breeze.
So, ditch the design disasters of the past and get ready to transform your space! With the right approach and the tools in this guide, you’ll be well on your way to revealing a beautiful, modern foundation for your dream décor.
Understanding Wallpaper Types and Removal Methods
The key to successful wallpaper removal lies in understanding your enemy (or rather, your wall covering). Different wallpapers require different removal approaches.
Here’s a breakdown of the most common types and their removal methods:
- Pre-pasted Wallpaper: This lightweight wallpaper often peels away easily with minimal tools (think dry stripping). However, some stubborn pre-pasted varieties might benefit from a light misting with water.
- Vinyl Wallpaper: Known for its durability, vinyl wallpaper poses a bigger challenge. Steaming is often the best method to loosen the adhesive and facilitate scraping.
- Washable Wallpaper: As the name suggests, this type is designed to resist moisture. While some washable wallpapers might respond well to soaking with water-based solutions, others might require a stronger chemical stripper for effective removal.
- Flocked Wallpaper: This luxurious wallpaper features a raised, velvet-like texture. Unfortunately, the delicate fibers make it a candidate for professional removal only.
Remember, these are just general guidelines. Always test a small, inconspicuous area before tackling the entire wall. This will help you determine the wallpaper type and the most effective removal method for your specific situation.

Essential Wallpaper Removal Tools
Now that you’ve identified your wallpaper foe, it’s time to assemble your arsenal! Here are the essential tools you’ll need for a successful wallpaper removal project:
A. Safety Gear:
- Safety Glasses: Protect your eyes from flying debris and chemical splashes.
- Gloves: Keep your hands safe from cuts and irritation, especially when using strippers.
- Dust Mask: Minimize dust inhalation, particularly when dealing with older wallpaper.
B. Scoring Tool: A scoring tool is a handheld device with a spiked or perforated wheel. It creates tiny perforations in the wallpaper surface, allowing soaking solutions to penetrate the adhesive layer more effectively.
- Pro Tip: Use a scoring tool for all removal methods, even dry stripping, as it aids in easier removal and reduces the risk of damaging the drywall beneath.
C. Wallpaper Scraper: Your trusty wallpaper scraper will be your workhorse during the removal process. Here’s a breakdown of the different types:
- Wide-Body Scraper: Ideal for tackling large sections of wallpaper quickly.
- Jab Scraper: This smaller scraper is perfect for reaching corners and tight spaces.
- Plastic Scraper: Gentler on walls compared to metal scrapers, a good choice for delicate wallpapers or those on plaster walls.
- Metal Scraper: More aggressive for stubborn wallpaper removal, but use with caution to avoid gouging the drywall.
Choosing the right blade material is crucial. Opt for a flexible blade for pre-pasted or vinyl wallpaper, and a stiffer blade for scraping off stubborn adhesive residue.
D. Wallpaper Steamer: A wallpaper steamer is a game-changer for tackling tough wallpaper jobs. It uses steam to penetrate the adhesive layer, making the wallpaper easier to peel away.
There are two main types:
- Handheld Steamer: A more compact and budget-friendly option for smaller projects.
- Professional Steamer: Offers more powerful steam output and a larger water reservoir, ideal for extensive wallpaper removal.
E. Wallpaper Removal Solution: For stubborn wallpaper that won’t budge with water alone, a wallpaper removal solution can be helpful. These solutions come in two main varieties:
- Chemical Strippers: Highly effective but require proper ventilation and safety precautions due to their harsh chemicals.
- Enzymatic Strippers: A more eco-friendly option that utilizes enzymes to break down the adhesive. However, they may take longer to work and might not be as effective on all wallpaper types.
Important Note: Always follow the manufacturer’s instructions for safe and effective use of any wallpaper removal solution.
F. Additional Tools:
- Spray Bottle: Useful for misting wallpaper with water or a homemade solution.
- Putty Knife: For scraping off stubborn adhesive residue or smoothing out imperfections on the wall after removal.
- Bucket: To hold water or your chosen stripping solution.
- Sponge: For applying a stripping solution or cleaning walls after removal.
- Rags: For wiping up spills and cleaning tools.
By equipping yourself with these essential tools, you’ll be well-prepared to tackle any wallpaper removal project with confidence!
Top Picks for Wallpaper Removal Tools
Now that you’re familiar with the essential tools, let’s explore some top picks in each category to help you make informed choices:
A. Wallpaper Scraper:
- Roman Wallpaper Scraper: This ergonomic scraper features a pre-set blade angle for optimal scraping without damaging drywall. It also boasts a built-in roller for smooth operation.
- Marple Heavy Duty Paper Remover: A sturdy option with a replaceable, high-carbon steel blade for tackling tough jobs.
B. Wallpaper Steamer:
- Wagner Wallpaper Steamer: This handheld steamer is a budget-friendly choice for smaller projects. It’s lightweight and easy to maneuver, making it perfect for DIY enthusiasts.
- Wagner Wallpaper Steamer Elite: A professional-grade steamer with a powerful output and a large water reservoir. It’s ideal for tackling extensive wallpaper removal projects efficiently.
C. Wallpaper Removal Solution:
- Dif Wallpaper Stripper by Zinsser: This popular chemical stripper is highly effective for stubborn wallpaper removal. However, remember to prioritize proper ventilation and wear safety gear when using it.
- Citrus Wallpaper Stripper by Eco-Products: An eco-friendly alternative that utilizes natural citrus solvents to break down adhesive. While it might take longer to work than chemical strippers, it’s a safer option for those with environmental concerns.
Remember, these are just a few suggestions. Several other excellent tools are available on the market. Consider your specific project needs and budget when making your final selections.
DIY Wallpaper Removal Techniques
Armed with the right tools and knowledge, you’re ready to conquer those pesky wallpaper layers! Here’s a breakdown of the most common DIY wallpaper removal techniques:
A. Dry Stripping: This method is ideal for pre-pasted wallpaper with a weak adhesive bond.
Here’s what you’ll need:
- Scoring Tool (optional, but recommended)
- Wide-Body Scraper
- Putty Knife (for stubborn edges)
- Score the wallpaper surface with a scoring tool to create tiny perforations.
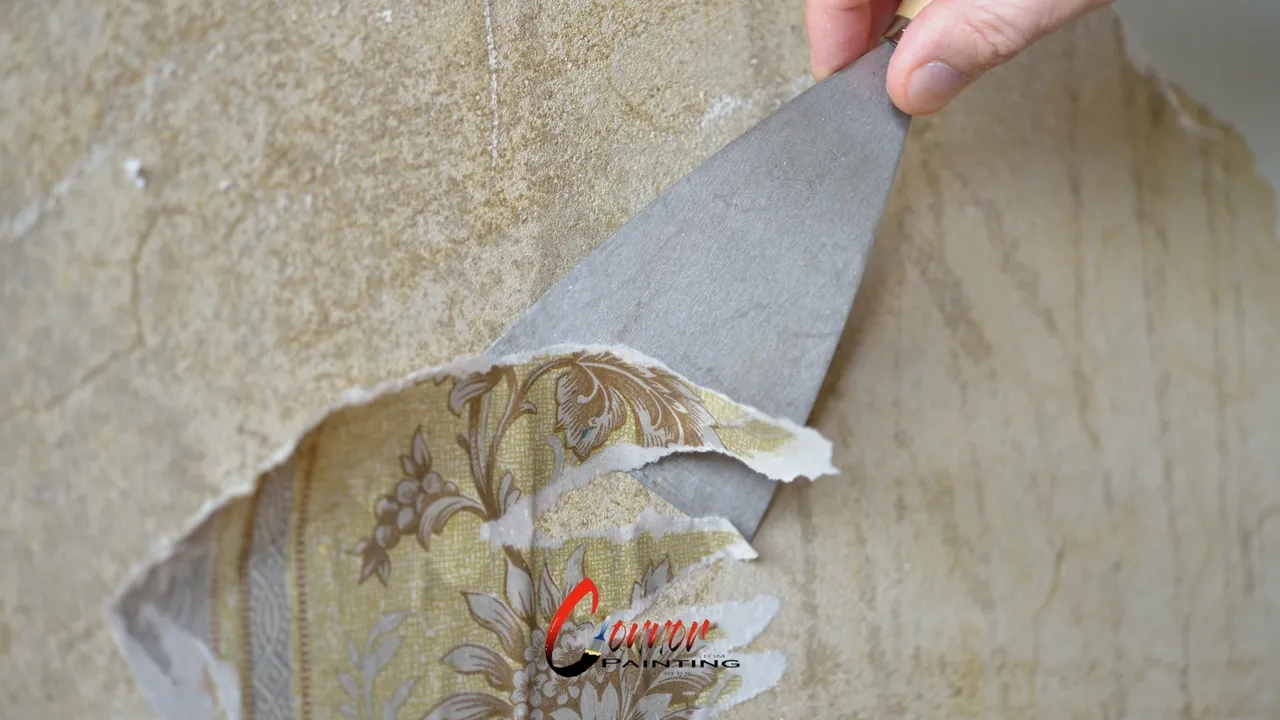
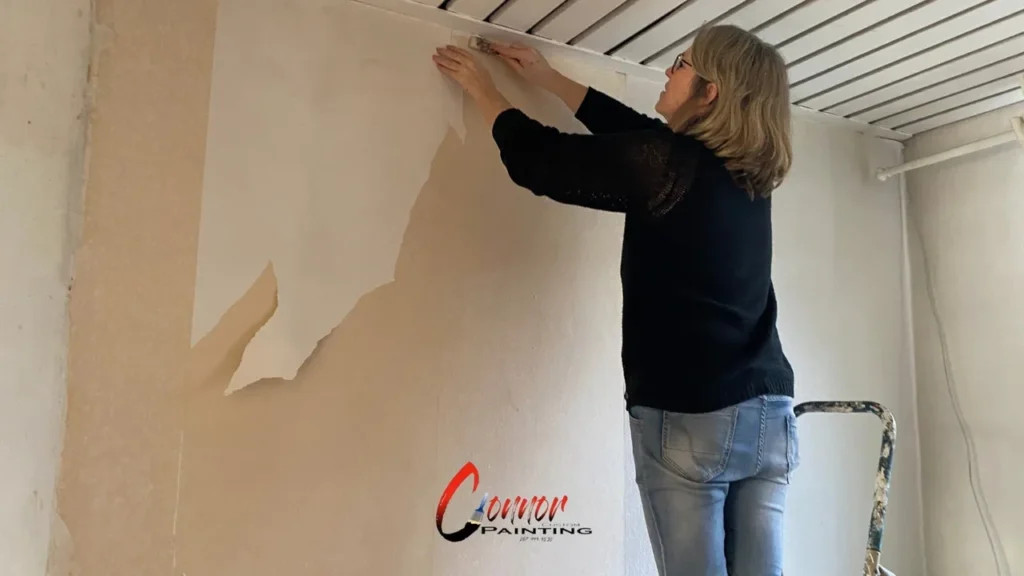
- Start at a corner or seam and carefully lift a loose edge with your putty knife or fingers.
- Slowly peel the wallpaper away from the wall, using a wide-body scraper for larger sections.
- Work in small sections and be patient. If the wallpaper resists, it might require a different removal method.
B. Soaking and Scraping:
This technique is effective for most wallpaper types, especially those with a stronger adhesive. You’ll need:
- Scoring Tool
- Spray Bottle
- Wallpaper Removal Solution (optional, depending on wallpaper type)
- Sponge
- Wide-Body Scraper
- Putty Knife
- Score the wallpaper surface thoroughly with a scoring tool.
- Mix a wallpaper removal solution according to the manufacturer’s instructions (if using).
- Saturate a small section of wallpaper with water or your chosen solution using the spray bottle or sponge.
- Let it sit for the recommended time (usually 5-15 minutes).
- Test a small area to see if the wallpaper loosens easily.
- Using the wide-body scraper, carefully scrape away the softened wallpaper in a downward motion.
- Work in small sections and reapply solutions as needed.
- Use the putty knife for stubborn edges or remaining adhesive residue.
C. Steaming:
- Steaming is a powerful technique for tackling stubborn vinyl wallpaper or multiple wallpaper layers.
- Here’s what you’ll need:
- Wallpaper Steamer
- Wide-Body Scraper
- Putty Knife
- Fill the steamer’s water reservoir and allow it to heat up according to the manufacturer’s instructions.
- Hold the steamer plate against a small section of wallpaper for a few seconds to loosen the adhesive.
- Immediately use the wide-body scraper to remove the softened wallpaper in a downward motion.
- Work in small sections and continue steaming and scraping until the entire area is clear.
- Use the putty knife for stubborn edges or remaining adhesive residue.
General Tips for Successful DIY Wallpaper Removal:
Always test a small, inconspicuous area before tackling the entire wall. This helps you determine the most effective removal method for your specific wallpaper.
Work in small sections to prevent the wallpaper from drying out too quickly.
Be patient! Removing wallpaper, especially stubborn layers, takes time
Conquered those pesky wallpaper layers and ready to move on to the fun part – decorating! But what if the removal process revealed unexpected damage or stubborn adhesive residue you just can’t tackle? Don’t fret! The experts at Connor Custom Painting are here to help.
Conclusion
With the right tools, techniques, and a little patience, you can successfully remove wallpaper yourself and transform your space. This guide has equipped you with the knowledge and resources you need to tackle most DIY wallpaper removal projects. However, remember, there’s no shame in calling in the professionals for tougher jobs.
So, if you’re facing heavily layered wallpaper, textured walls, or simply lack the time or confidence for DIY removal, contact Connor Custom Painting today! We offer professional wallpaper removal services to ensure a smooth, damage-free finish for your project.